POSITECTOR 6000IP Intergral Probe Models
![]() Range: 0 - 1500 µm
Range: 0 - 1500 µm
Resolution: 0,1 µm
Substrates: F, N or FN
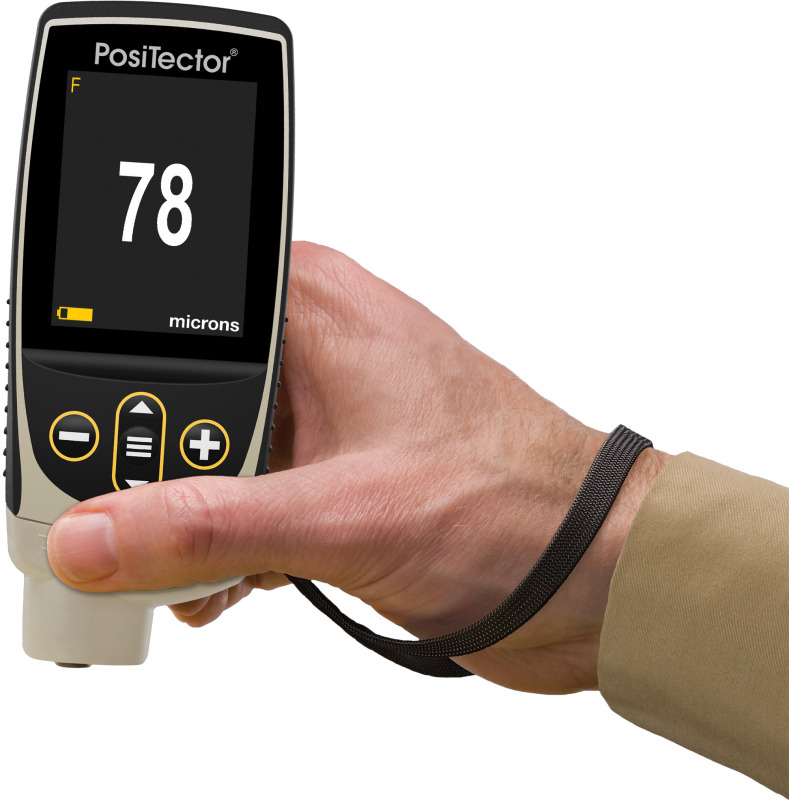
The 6000IP Series General Purpose Coating Thickness Gauge is a precise, rugged tester designed to measure coating thickness on ferrous and or non-ferrous metals accurately and quickly using magnetic and eddy current principles.
The 6000-IP's Integral Probe design offers maximum convenience and simplicity allowing for one-hand use, eliminating the external probe and cable which can be cumbersome in certain applications.
The 6000IP is available in Standard (1) or Advanced (3) configuration. The standard model has a monochrome display, 1000 reading memory and USB data output. The Advanced model adds a high contrast color LCD display, Scan Mode, Real-Time Graphing Bluetooth output and more.
| Feature Comparison Chart | Standard (1) |
Advanced (3) |
| Hi Contrast LCD Display | 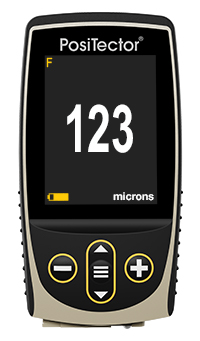 Color |
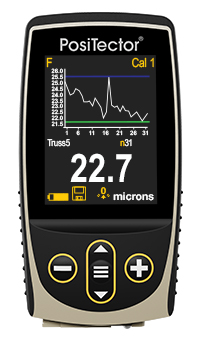 Color |
| General Features | Standard (1) |
Advanced (3) |
| FAST mode - faster measurement speed for quick inspection | ||
| SCAN Mode - take continuous readings without lifting the probe | - |
|
| Hi-Lo limits audibly and visibly alerts when measurements exceed your specified limits |
|
|
| Instantly calculate average, standard deviation, min/max thickness and number of readings while measuring |
|
|
| Onscreen help, real time graphing, picture prompting and batch notes | - | |
| Memory Features & Capacity | Standard (1) |
Advanced (3) |
| Reading Storage Capacity | 1000 in one group | 250,000 in up to 1000 groups |
| Create meaningful batch names and enter notes directly on the instrument using a familiar on-screen QWERTY keyboard. | - | |
| SSPC PA2 feature set determines if film thickness over a large area conforms to user-specified min/max levels | - | |
| PSPC 90/10 feature determines if a coating system complies with an IMO performance standard for protective coatings | - | |
| Multiple stored calibration adjustments for measuring on a variety of substrate conditions | - | |
| Connection Options | Standard (1) |
Advanced (3) |
| USB port for fast, simple connection to a PC and to supply continuous power. USB cable included | ||
| WiFi technology wirelessly synchronizes with PosiSoft.net, downloads software updates, and connects to mobile devices for expanded functionality | - | |
| Bluetooth Wireless Technology for data transfer to a PC or optional portable printer | - | |
| PosiSoft Solutions | Standard (1) |
Advanced (3) |
| PosiSoft Desktop Software Desktop software for PC or Mac computer | ||
| PosiSoft USB Drive Access your PosiTector as a flash drive. View and print readings and graphs using universal PC/Mac web browsers or file explorers | ||
| PosiSoft.net (formerly PosiTector.net) Cloud-based application offering centralized management of PosiTector readings | ||
| PosiSoft Mobile Gage-based software application featured in all PosiTector Advanced instruments | - |
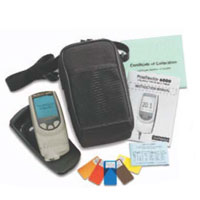
Complete Kit
|
Gage Models |
F1, F2, F3 N1, N2, N3 FN1, FN2, FN3 |
FT1, FT2, FT3 |
| Range | 0 - 60 mils | 0 -250 mils | |
| 0 - 1500 um | 0 - 6 mm | ||
|
Accuracy
|
+ (0.05 mils + 1%) 0 - 2 mils + (0.1 mils + 1%) > 2 mils |
+ (0.5 mils + 1%) 0 - 100 mils + (0.5 mil + 3%) > 100 mils |
|
| + (1 um + 1%) 0 - 50 um + (2 um + 1%) > 50 um |
+ (0.01 mm + 1%) |
||
| *Accuracies are stated as a fixed value plus a percentage of the gage's actual reading. | |||
Specifications
| Measuring principle: | Magnetic induction principle (Ferrous) Eddy-current principle (Non-Ferrous) |
| Display | Backlit & Reversible LCD |
| Data Output | IR & USB - "2" & "3" Models Bluetooth - "3" Models |
| Resolution: | 0,1 µm |
| Surface Temp. | Maximum 120 °F / 49 °C |
| Power | 3 AAA batteries, Included |
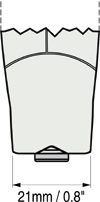
| Dimensions | 146 x 64 x 31 mm |
| Weight | 165 gr. without batteries |
| Protection Class | Meets or exceeds IP5X, Solvent, acid, oil, water & dust resistant |
| Warranty | 2 Years |
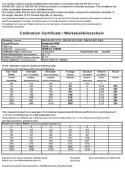
| Calibration Certificate | Certificate of Calibration showing traceability to NIST included |
Related Products
PosiTector 6000GP Coating Thickness Gauge
- HiLo alarm audibly and visibly alerts when measurements exceed user-specified limits
- Reversible Display enables right side up viewing whether the gage is in your hand or on a work table
- Thick impact resistant Lexan® display is backlit for easy viewing in dim or dark environments
More details
PosiTector 6000MP Micro Probe Models
- High Resolution mode increases the displayed resolution for use on applications that require greater precision
More details
PosiTector 6000TC Thick Coating Model
- HiLo alarm audibly and visibly alerts when measurements exceed user-specified limits
- Reversible Display enables right side up viewing whether the gage is in your hand or on a work table
- Thick impact resistant Lexan® display is backlit for easy viewing in dim or dark environments
More details
PosiTector 6000TCX Extra Thick Coating Models
- For extra thick paint and coatings up to 13 mm (150-500 mils)
More details
Cic-Coating Calibration Coating Thickness Gauge
- Easy planning of calibration
- Short turnaround
- Possibility to adjust and repair
- In accordance with DIN EN ISO 2178, 2360, 2808 and meets or exceeds the indicated accuracy.
More details
Accessories
Buy Now
Availability: Available: 1 - 3 days, Delivery time: 1 - 3 weeks, special order request

